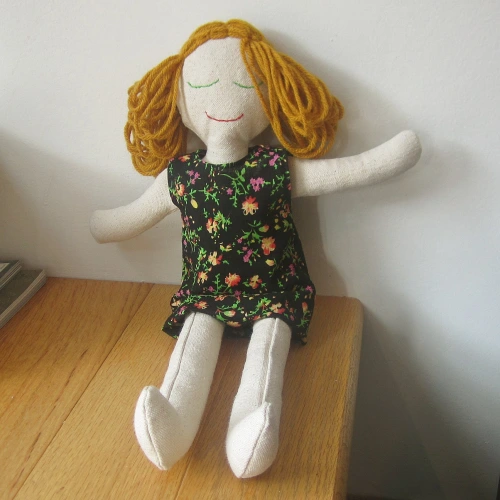
The iconic Rag Doll.
Laura Ingalls dreamed of this doll.
This pattern is free! Click here to download free pattern and instructions.
I want to see your creations! Tag me in your Instagram ragdoll pics:
Click here to view my other sewing patterns for purchase, if you’re into that kind of thing!
It took me awhile to smooth out the rough edges of this pattern. As it turns out, a fashion pattern drafter isn’t automatically equipped to draft doll patterns.
But I fiddled around with my pattern, off and on for months, and patience finally paid off.
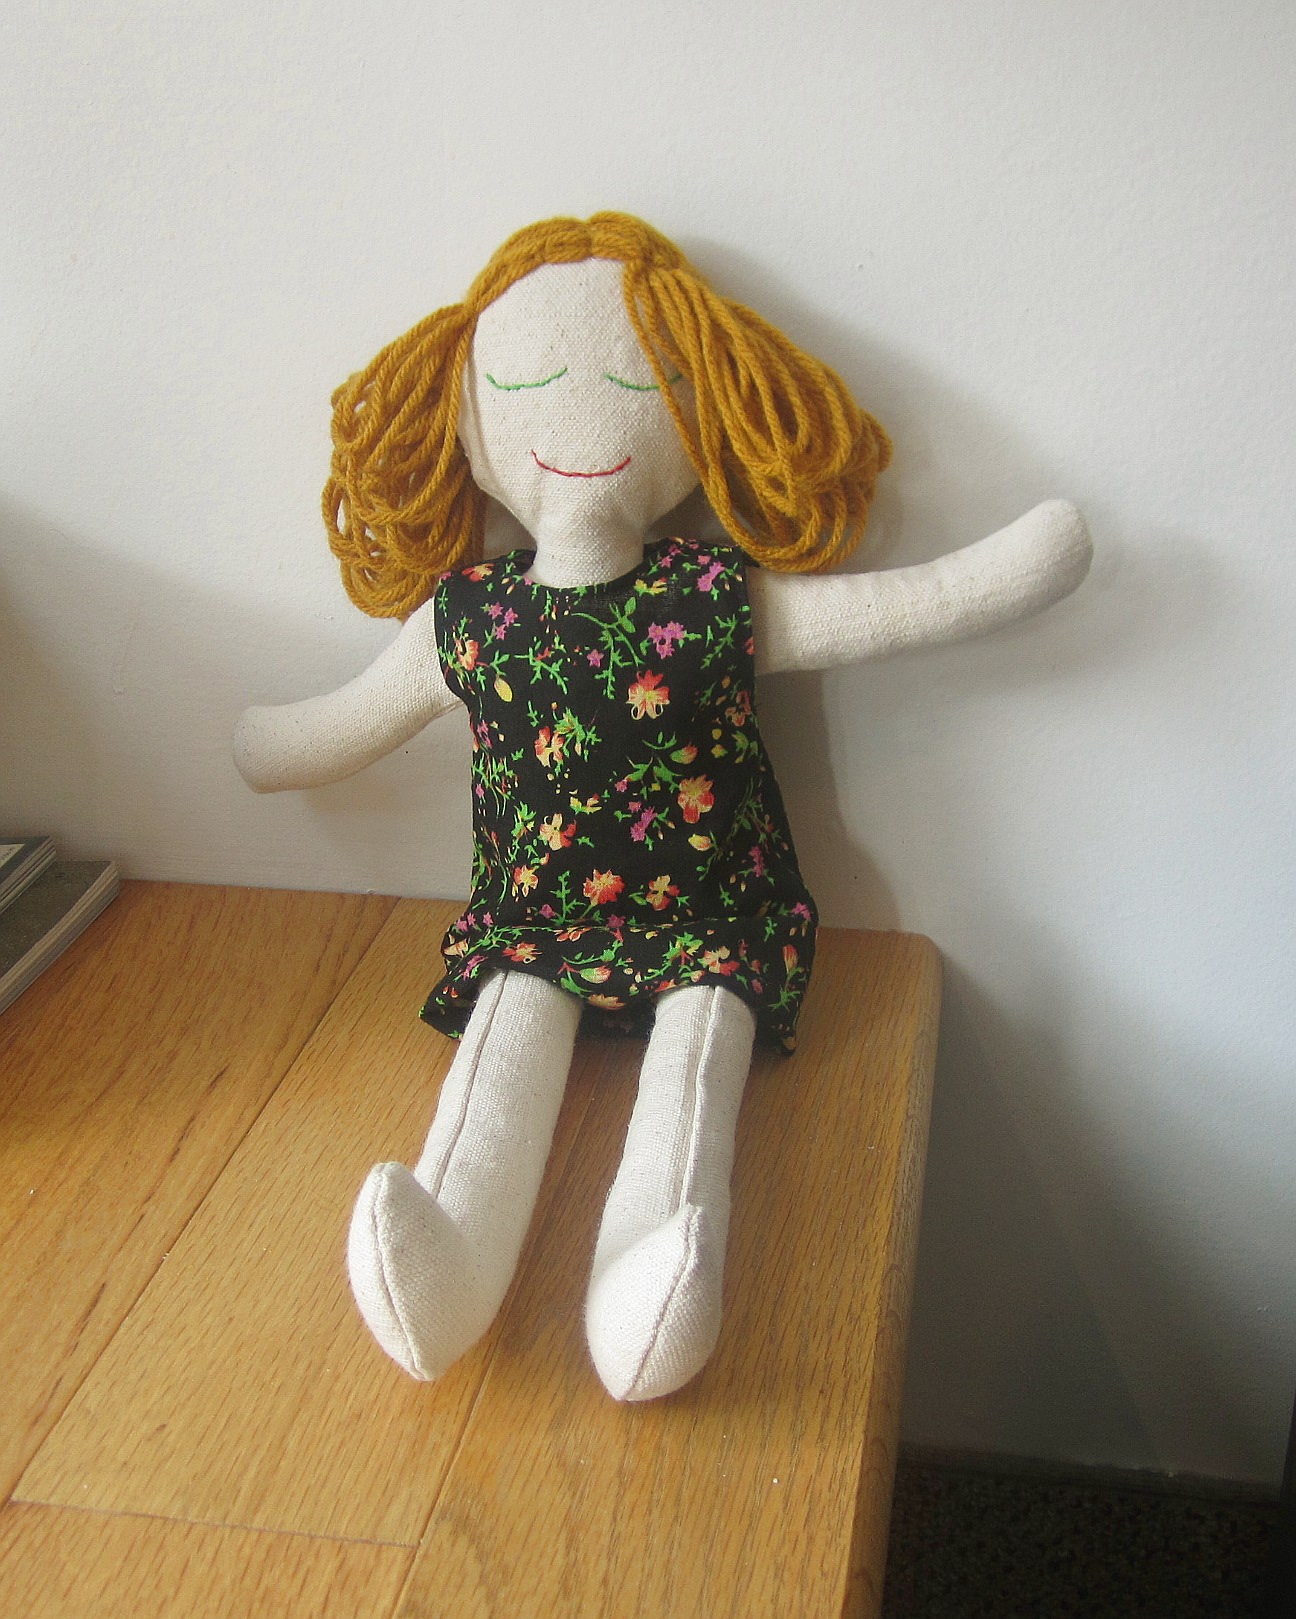
And look how happy she is to exist:

This pattern and instructions are free, but maybe you would like to take a look at some of my patterns that are available for purchase, while you’re visiting (click on picture for link)!

Here’s another free sewing pattern, the wall mounted bunny head:

Rag Doll Materials needed:
*~1/4 yd sturdy cotton fabric like denim or canvas (I used 10oz painter’s canvas, which was hella stiff, but also hella reasonably priced, and made for beautiful results. So if your machine can handle it, I’d totally recommend dropping by your local art supplies store and buying some canvas-by-the-foot)
*Thread
*Doll stuffing
*Scraps of quilting cotton for the dress
*Yarn for the hair
*Embroidery thread for the face, OR
*Printable Iron-On T-Shirt Transfer paper to print up my face template and iron-on to your doll face (I have not as of yet included instructions for this, I merely included the face template in the pattern PDF)
Let’s get started! And this is a doozy of an instructions set, so read through before you start!
I want to see your creations! Tag me in your Instagram ragdoll pics:
Print and cut out your pattern pieces. Once you cut your fabric, you should have something like this:
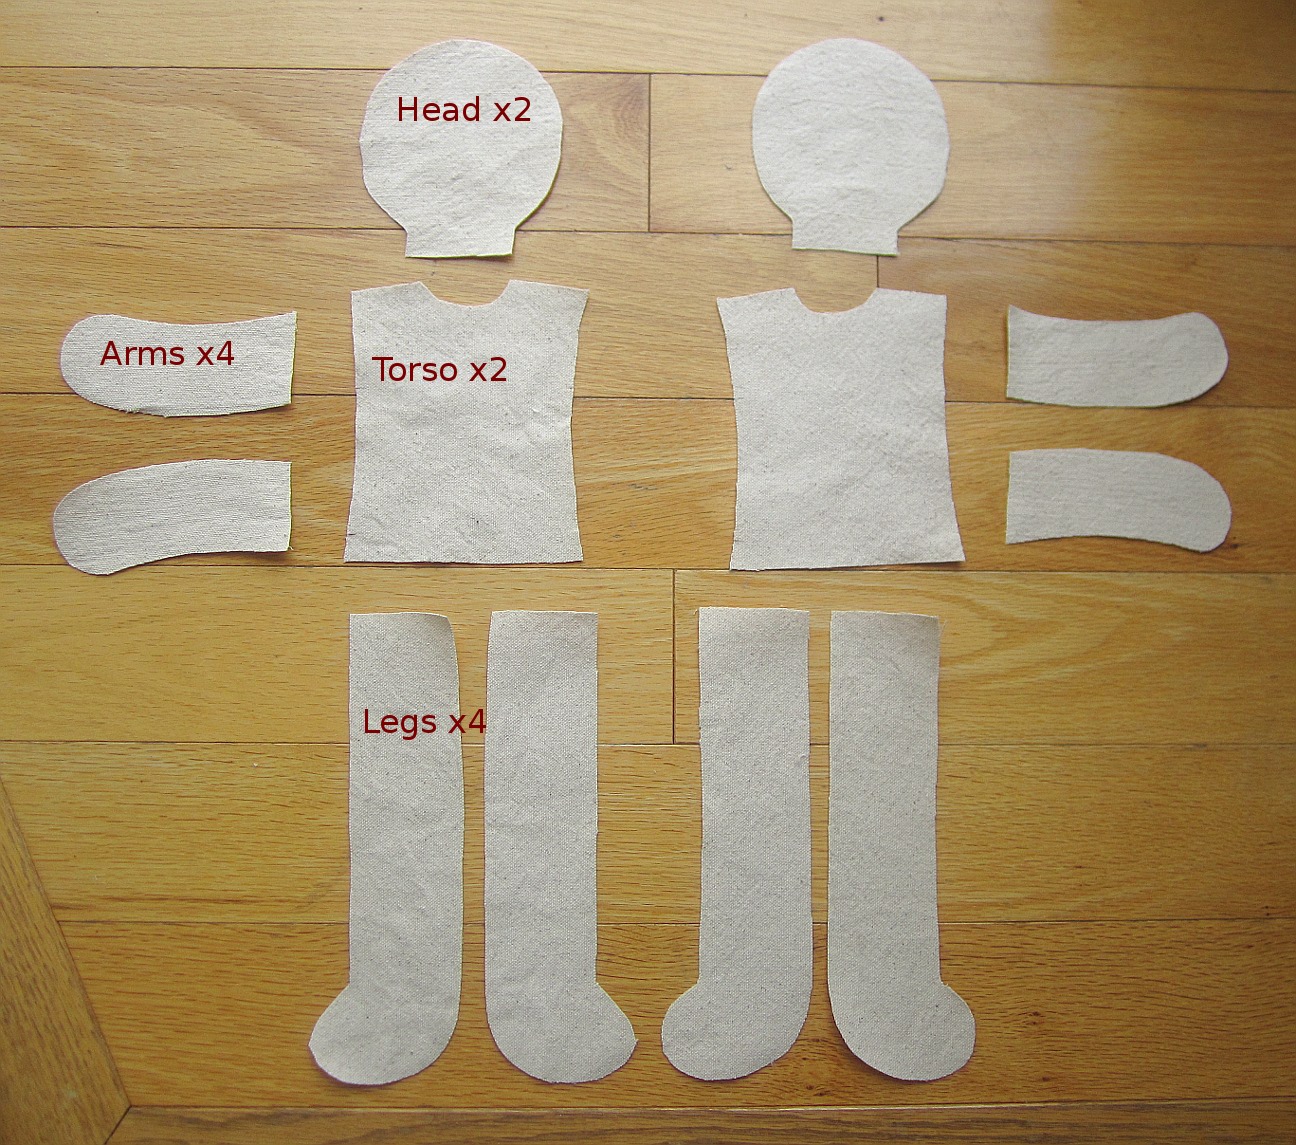
And now, we sew.
Click here to download free pattern and instructions.
With right sides together, sew the legs and arms, leaving an opening at the top (I don’t really need to mention that part, do I?).

Clip little notches around the curved hand and foot areas, taking care not to cut past the stitching line.

Using a long and slim poking instrument (I used a drumstick; you can also use a chopstick, or the eraser side of a strong pencil), turn the arms and legs right side out, smoothing the seams as you go.
Stuff the arms and legs with doll stuffing, leaving the top 3/4″ unstuffed (it makes it easier to sew the arms and legs to the body).
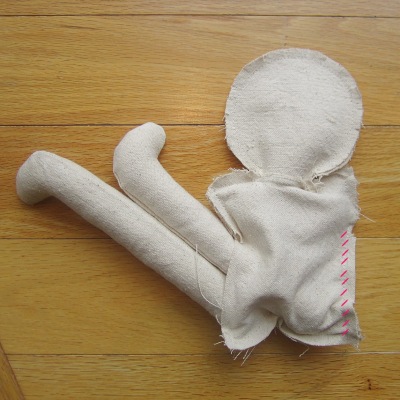
Pin the openings closed. Pin the arms so that the front piece and back piece are flat against each other. Pin the legs so that the side seams meet up in the middle (as pictured).


With right sides together, baste the arms and legs to the front torso piece.
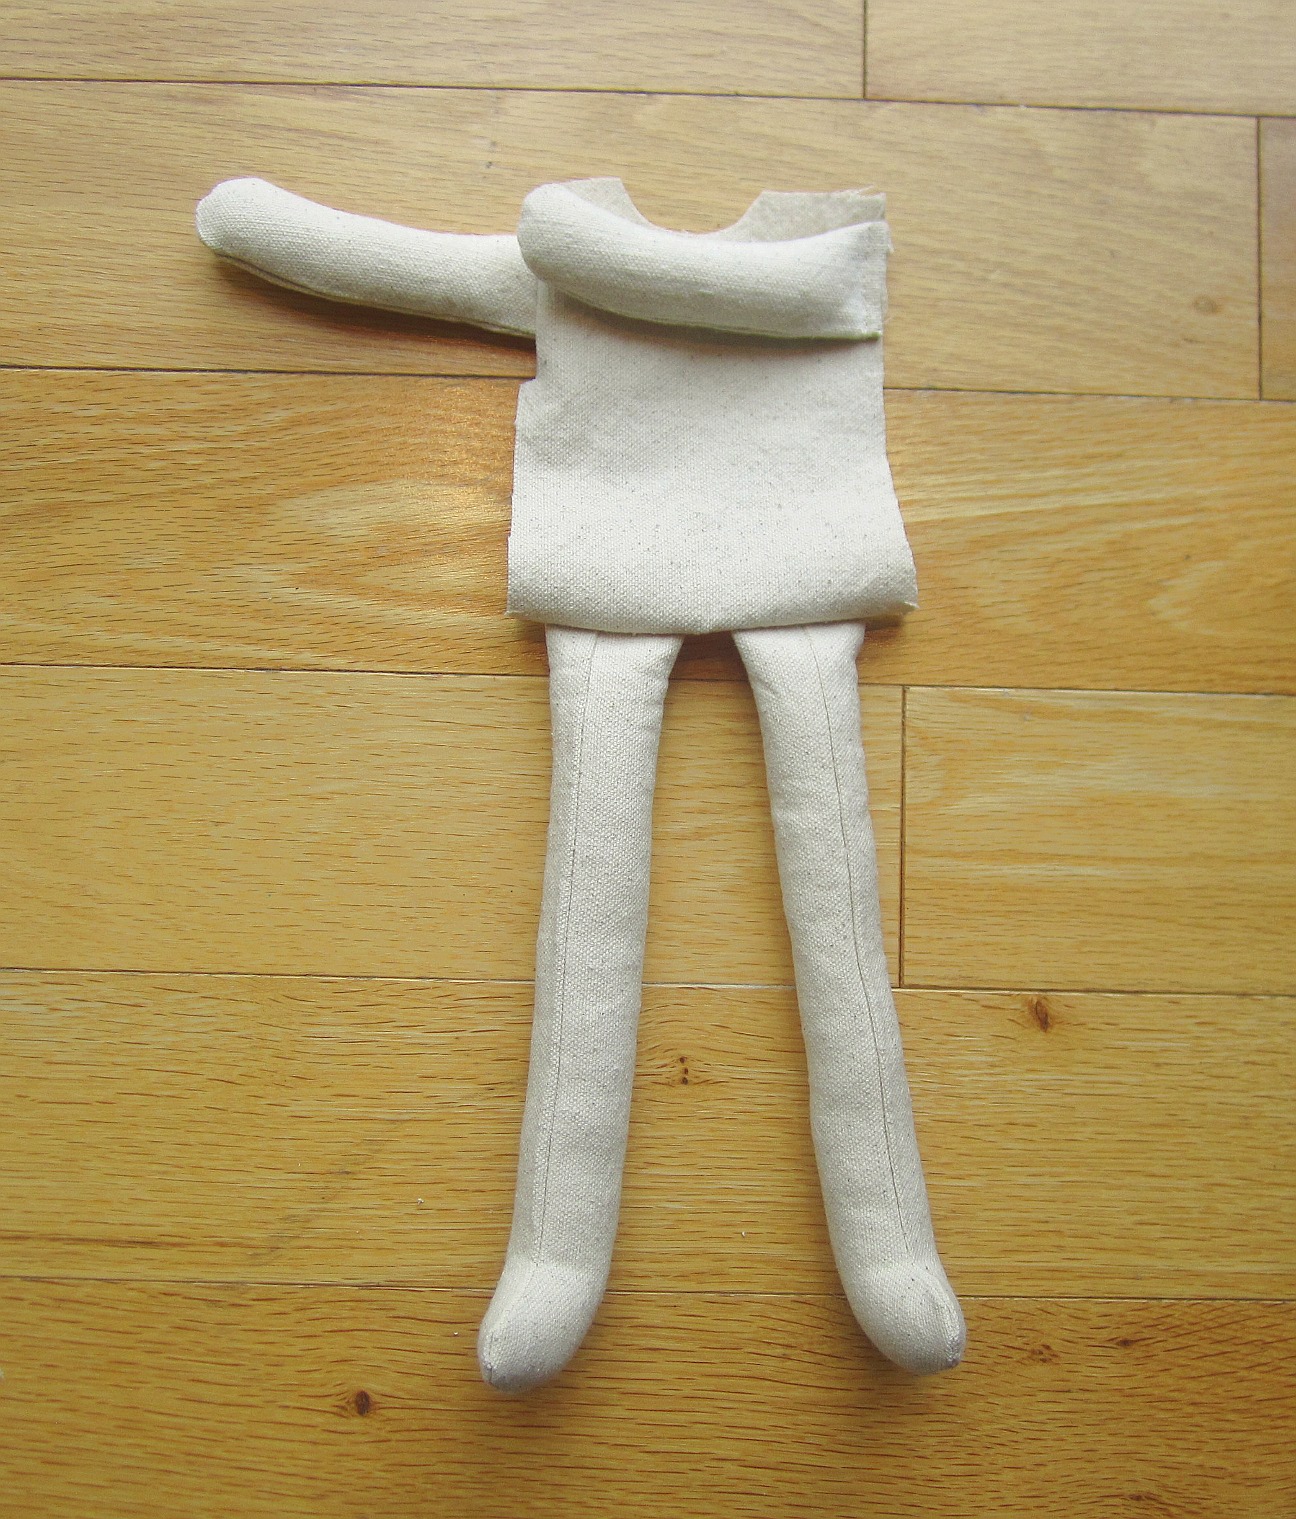
Another pic.

With right sides together, sew the back torso to the front torso along the base of the legs.

With right sides together, sew the head pieces to the torso pieces, front and back.
Click here to download free pattern and instructions.

Carefully sew the back head & torso to the front head & torso, one section at a time.
I sew the shoulders, head and neck all in one go, followed by the arms.
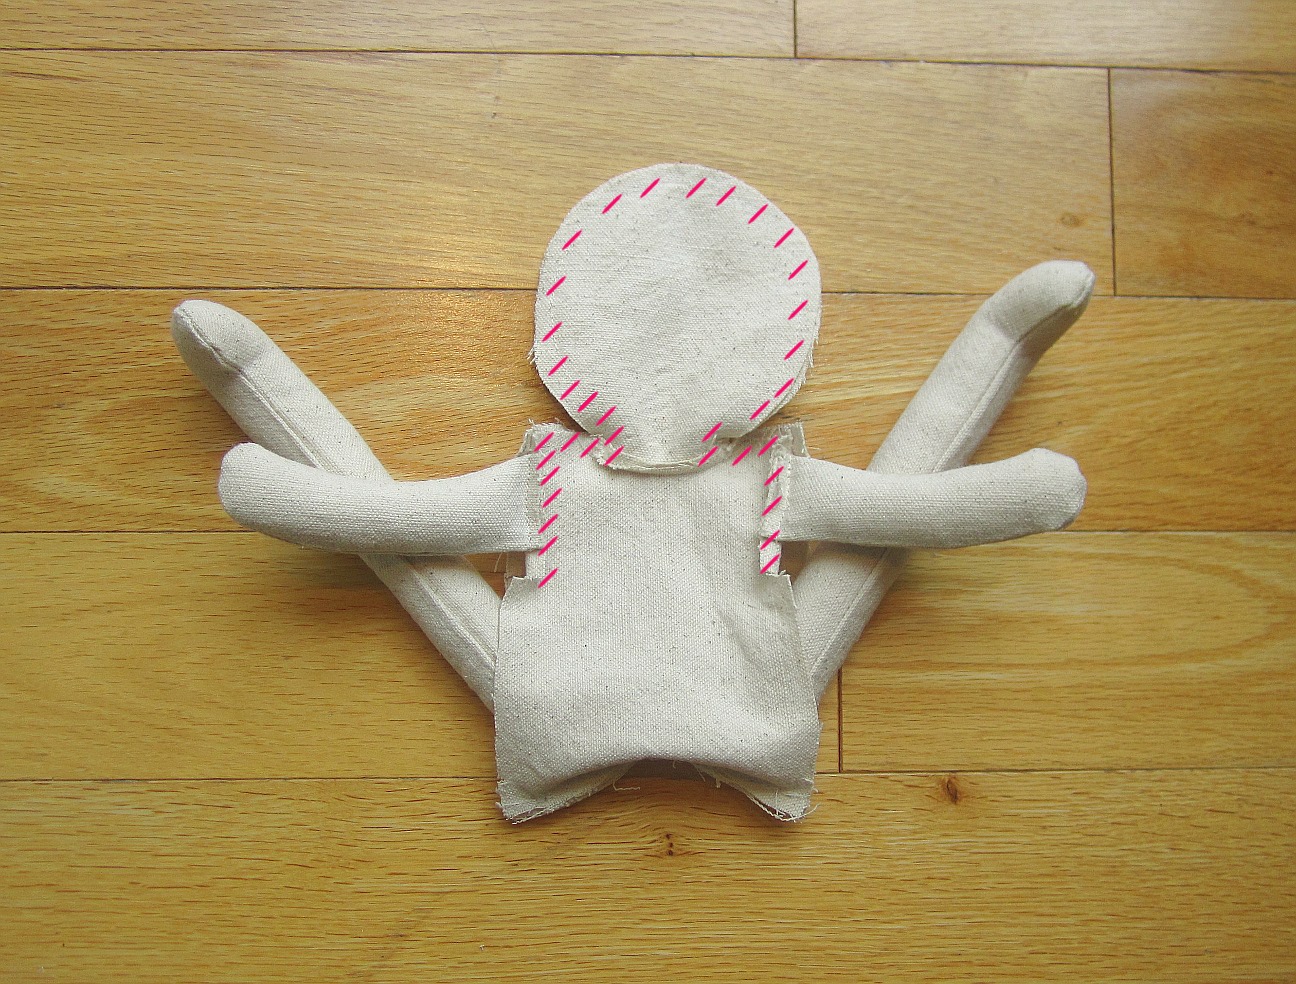
And sew the one side of the torso shut, leaving the other side open for turning and stuffing.
Notice in the last two pictures how the arms and legs get moved around? You can manipulate the limbs however you like in order to sew a straight seam. In the last picture, one of the doll’s arms is stuffed up into her head cavity!
Clip notches around the head and neck areas, taking care not to cut through the stitching line.
This pattern and instructions are free, but maybe you would like to take a look at some of my other patterns, while you’re visiting (click on picture for link)!
Now you can turn your doll right side out. Go carefully, especially if you’re sewing with a lighter weight fabric like quilting cotton (not recommended); you certainly do not want to tear through your hard work at this stage!

Stuff the head and torso as fully as you can (the fuller you stuff it, the more professional it looks).
Hand sew the opening shut, using a ladder stitch or a slip stitch.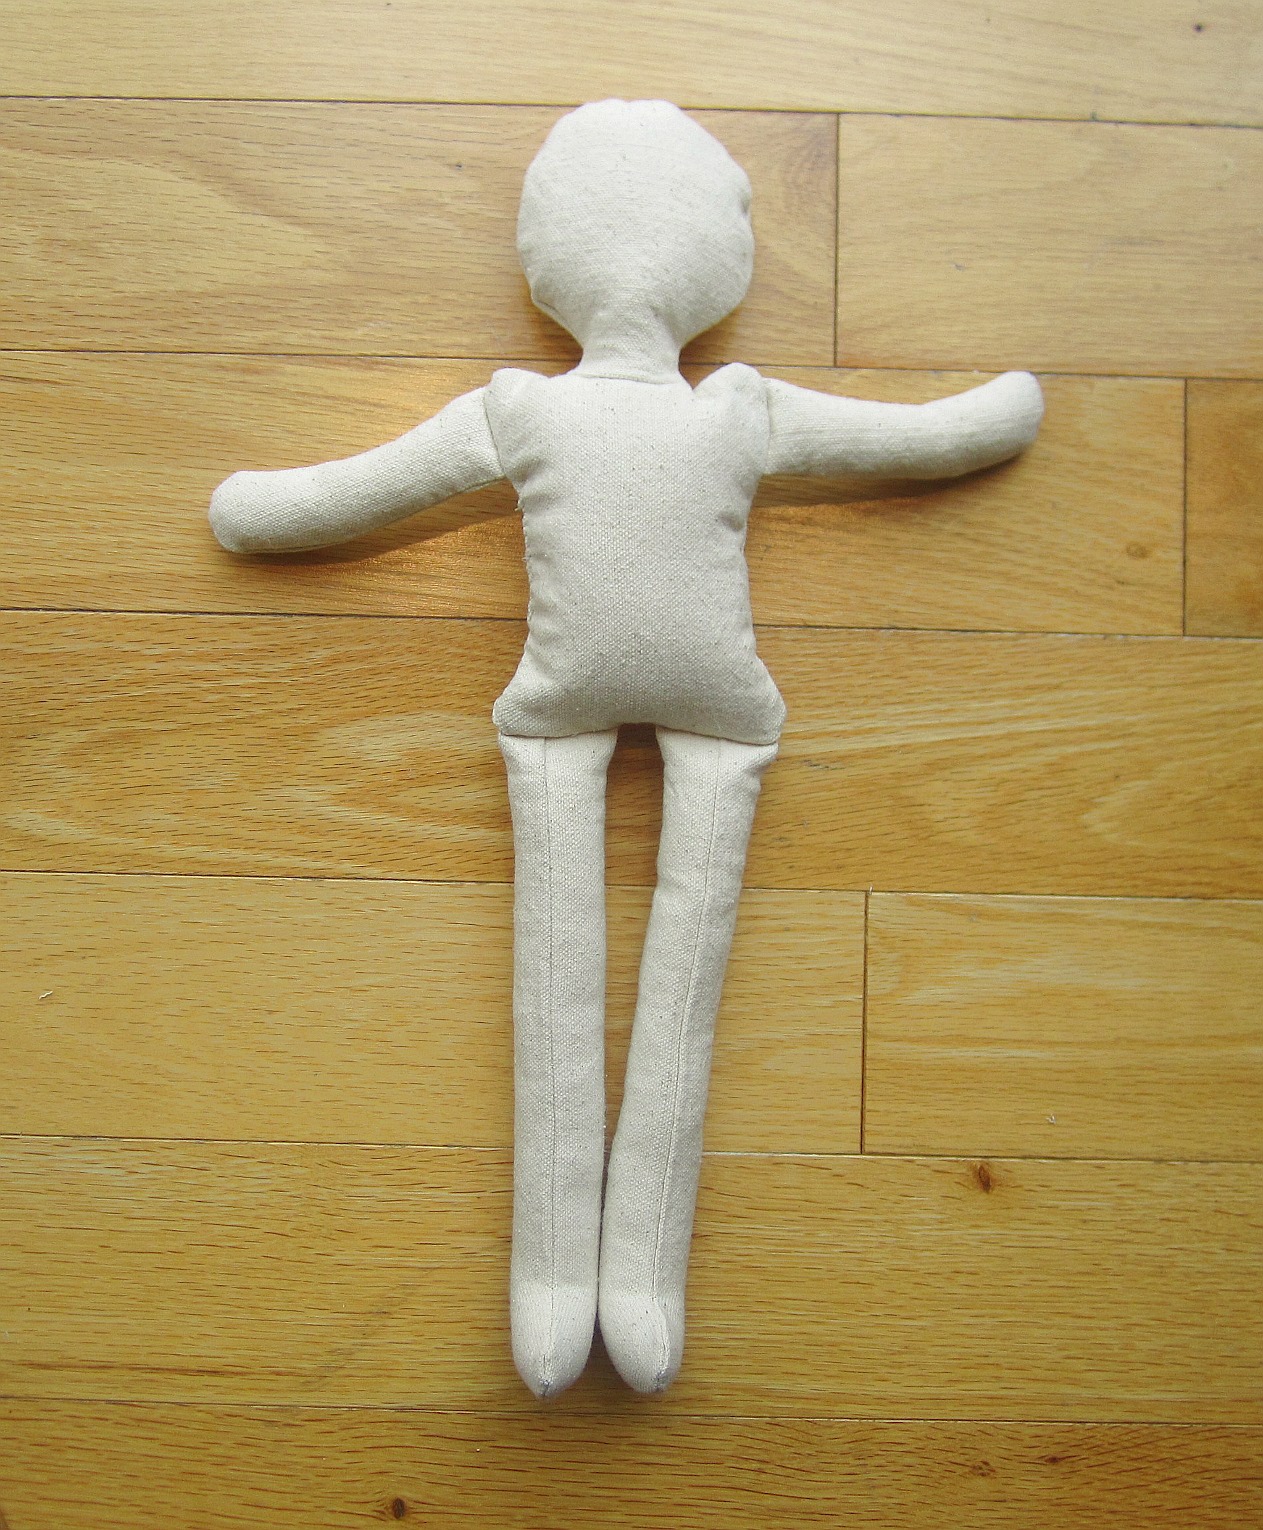
And if you are sewing a face onto the doll, the time is nigh.
Using a sharp pencil, trace yo’ face (ha!) onto the front of the head. Don’t screw it up, or your doll will have pencil on her face forever and everyone will point and laugh at your dolly folly (another ha!). This is like the worst paragraph I ever wrote.
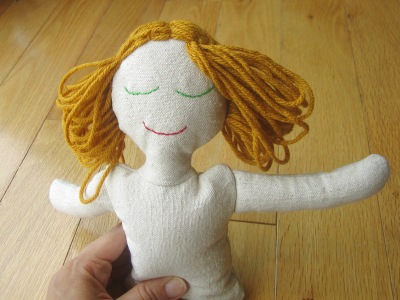
Using a few strands of embroidery thread, hand sew over your pencil tracings. As you can see, I was very conservative with my face design, sewing three simple curved lines:

To make the hair, wrap yarn around a sturdy book several times, until you have a doll’s head’s worth of hair (this is not a formal measurement, by the way, you can decide for yourself how much hair you need). The book in the picture is about 10 inches tall and one inch thick, if you need a point of reference.

Carefully slide the yarn off of the book, trying your best to not unravel everything. I slide my yarn onto a magazine (or sewing machine manual), so that I can slide it effortlessly (ha!) onto the sewing machine.
Sew down the middle of the yarn loops, crosswise, to attach them all together. This will become the part in your doll’s hair.

Pin and hand sew the hair onto the doll’s head, with the front of the hairline starting about 1/2″ to the front of the head seam.
Sew the middle part first, and then tack down the hair to the side seams of the head so that the hair doesn’t flap around all over the place.

You can also sew her hair into pigtails or braids, if the hair is long enough (there are many tutorials online for doll hair).
To make the doll dress, cut out the front and back dress pieces.
Fold in and sew the neckline hems of front and back pieces.

Right sides together, sew the front and back together at the shoulders.
Fold in and sew the armhole hems.

Right sides together, sew the side seams.
This pattern and instructions are free, but maybe you would like to take a look at some of my other patterns, while you’re visiting (click on picture for link)!
Fold and sew the hem.

Turn right side out and put it on your doll!
And stay in touch for upcoming variations on doll clothing and accessories for your rag doll (Update March 2018: it still hasn’t happened. Don’t hold your breath.).
Click here to download free pattern and instructions.


One thought on “Rag Doll Free Sewing Pattern and Instructions”
Comments are closed.